
Log in
Register
If you're still looking for crazy cool wedding invitations to send out to your friends and family, and don't want to spend a fortune on fancy letter pressed stationery, consider doing it yourself!
We've found a super easy way to DIY your own beautifully marbled stationery... with SHAVING CREAM! (Yes, we're serious.)
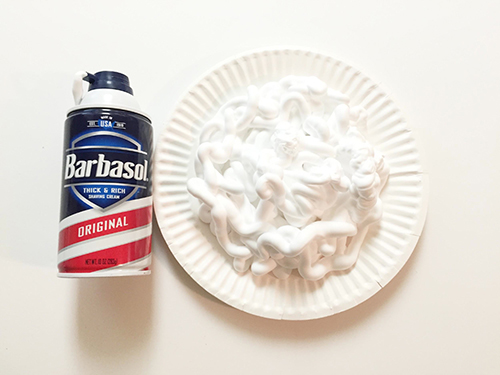
● Foam Shaving Cream
● Food Coloring
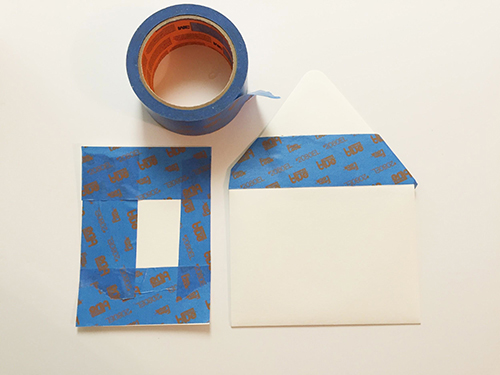
● Heavy Weight Paper (Both flat cards and envelopes.)
● Painter's Tape
● Paper Towels
● Ruler
● Spatula
● Cookie Sheet, Plate, or Tray
● Plastic Knife
Ready? Go:
Step 1: Start by masking off both the backside of your invitation and the front of your envelope. Make sure to choose a heavy weight paper that has some texture to it—that way the dye has something to adhere to.
Step 2: Spray a thick layer of the shaving cream onto your cookie sheet, plate, or tray. If you want, use a scented shaving cream to give your invitation a subtle romantic aroma. (It'll be just like in the olden days when ladies sprayed perfume onto their love letters!)
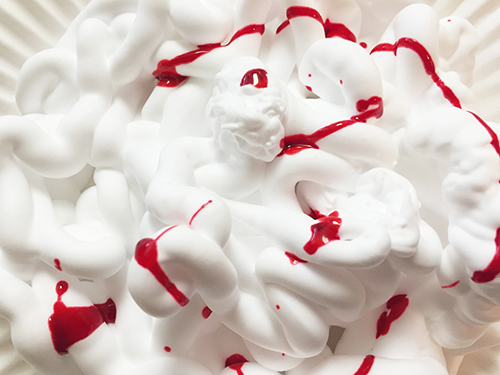
Step 3: Once you have a thick layer of shaving cream, squeeze a few drops of food coloring onto it:
Step 4: Use a spatula or plastic knife to mix the food coloring into the shaving cream:
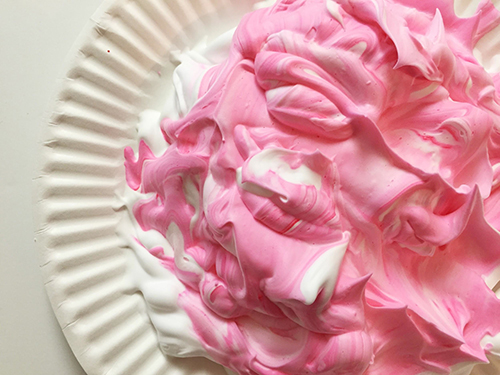
WARNING: Don't over mix, or your marbling will look muddy!
Step 5: Once you've mixed your base color, add a few drops of DIFFERENT colored food coloring. Use your plastic knife to streak this color through the base:
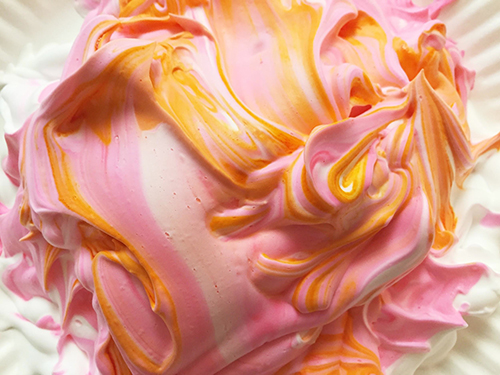
AGAIN: Don't overmix!
Step 6: Place your invitation or envelope onto the swirled shaving cream TAPE SIDE UP:
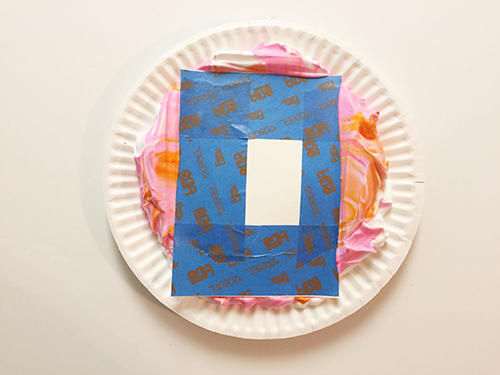
Make sure the paper is making complete contact with the shaving cream.
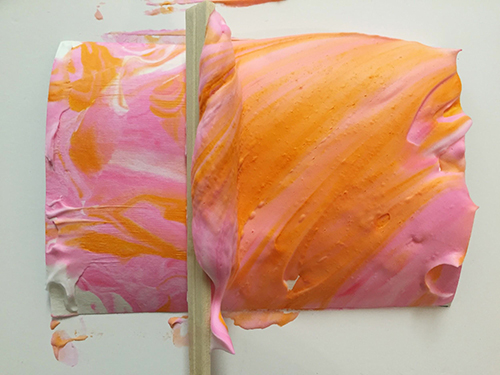
Step 7: Peel the invitation off of the shaving cream and place it to the side, shaving cream side up.
Step 8: Take a ruler and slide it across the invitation, removing the shaving cream:
You'll notice that once the shaving cream is gone, the paper is marvelously marbled!
Step 9: Pat the invitation with a paper towel to remove any excess shaving cream and place it to the side to dry.
NOTE: If the paper starts to curl, you can flatten it under a heavy book... once it's dry.
And THAT'S IT! You now have some totally amazing marbled invitations:
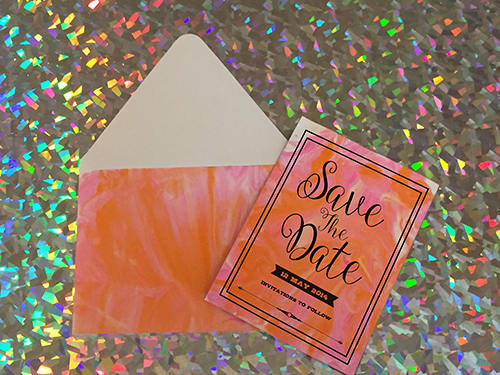
Note: This craft is totally addicting. Soon you'll be marbling every spare piece of paper you've got!
Copyright ©2026
![]()
![]()
![]()
![]()